Showing posts with label knitting machine. Show all posts

Thursday, February 2, 2017

Simpleframe: Part II

Completed project
1x1 ribbing on the Simpleframe

Assembling and knitting

I was trying hard to knit a batch of pussyhats for the Women's March on Washington and needed to speed things up. I had a skein of Lion Brand Landscapes fuchsia yarn that I thought might be good to try on the Simpleframe. 

But first, I had to assemble the Simpleframe. It was simple but fiddley to put together. Lots of little adjustments to get it ready to knit. This is not a children's toy.


Needle size

Unlike standard knitting machines, the Simpleframe uses depth of needle drop to  make a larger loop--and a larger stitch. Clever. 

The kit includes a little comb-like tool that compares the distance of needle drop--or return--to standard knitting needle sizes. Using the tool, the knitter moves the base on the Simpleframe up or down to align the size of the stitches. Once tightened into position, the base allows all needles on the bed to drop the same distance. (You can see the base in the first photo here. It's the piece at the bottom of the needles.)

The fiddliest part for me was attaching the knitting to the roller bar that is in the hollow space beneath the "V" of the double bed. This provides tension to keep the knitting on the needles--just as weights do on most standard knitting machines.


Stockinette attachment, front view

Knitting something

The pussyhat was a perfect project. Four plus inches of 2x2 ribbing, then 9 inches of stockinette, then back to four plus inches of ribbing. 

I started on ribbing. with the Simpleframe sitting on my lap. It was smooth knitting moving the needles down one by one on each bed. My first go on ribbing was pretty uneven, but my second try was much better. Nice, even. 


Stockinette attachment, side view
Next came the stockinette section and I had to figure out how to do it. Knitting stockinette on the Simpleframe requires positioning a plastic attachment that looks like a bar with movable fingers that drop down and sit between the needles. The 'fingers' have an indentation on the back that holds the yarn for pickup by the needles. (You can see the slight angle behind the first needle in the photo at right.) It made no sense to me until I set it up and knit.


Success!

I deemed my first project knit on the Simpleframe a success. Not perfect, but adequate. I can see that a knitter would quickly get good results with practice.  

For knitters who may have one--or may find one in a thrift store--dust it off and refresh yourself with this YouTube video and start using it again. It's a fun little tool that definitely has potential for knitting projects. You just need to learn how to master it!


Thursday, January 26, 2017

The Simpleframe

Ever seen a Simpleframe manual knitting machine? 

Simpleframe knitting machine
Unless you're reading this in the U.K., probably not. Manufactured and distributed by Frame Knitting Ltd., Berkhamsted, Hertfordshire, the company appears to have gone out of business in 2009. Here is a double bed with 48 needles on each bed. The frame is very well made and can comfortably sit lengthwise on your lap. 

According to blogger and researcher cleveroldstick, it was invented by Dr. Patrick J. Reilly in 1982 after watching his daughter using a Knitting Nancy--you know, those spool-like holders with 4 nails that you probably used to make cord when you were a kid. 

I was doing a lot of weaving and knitting and Kris was somewhat interested. After the Simpleframe was selected as a finalist in the “Prince of Wales Award Scheme for Industrial Innovation and Production" and featured on the BBC television program, Tomorrow's World, I bought one for her.

A query to the Machine Knitting Monthly helpline, notes that when that magazine was launched, it included a Simpleframe supplement with two  patterns a month, hints and tips, news and letters. 
CAD drawing of Simpleframe yarn tensioning parts

I never knit on it and I'm pretty certain that Kris didn't either. The double-bed machine sat in its original bag with the original manual along with a supplement with lots of patterns. I wanted to share it with my knitting machine guild because no one had heard of such a thing. I borrowed it but when I pulled it out, it was missing a couple pieces and one was chewed up. Child, dog, or cat, no one knows.

First order of affairs was replacing the pieces. I found a Simpleframe for sale on eBay, but the bids were too high for  couple of pieces. I checked out 3D printers, but don't have a CAD program to draw to spec. Then I went to the Garden State Sheep and Wool Festival and found Metis Industries. The were using a small 3D printer to make drop spindles. (Full story, here.) Ari was confident he could make replacements. He did! 

Next: Assembling and knitting on it.

Tuesday, July 5, 2016

Sticking to my knitting

...but not necessarily hand knitting

Knit purses. Imagine a drawstring through the top hems.
Want to see a hand knitter turn up their noses? Mention machine knitting. Typical responses include 'Oh! Dumbed-down knitting, eh?' Or 'How fast can you make a sweater?' Or their body language gives them away. They wrinkle their noses.

Yes, they do.

And I can't really figure out why. It can't be about handwork. I don't know one seamstress who would want to go without a sewing machine or a weaver who would turn down an electric bobbin winder or a woodworker who would wrinkle a nose at an electric saw. 

Yet it is exactly the same thing. 

Since my trip last week to the Met for their Manus x Machina exhibition, I must conclude that it is a subset of hand knitters who spurn advances in mechanization and/or technology. If the designs in the show are any indication, the most creative designers avidly embrace mechanics and technologies to achieve unique works.

Hands and machine

I hand knit, but I also have a knitting machine. (Hands still required). Originally I bought it to complement my 10-harness countermarch Glimakra loom. I have a jacket with a woven front and knit back, sleeves and finishes from the machine. Using the same yarns, the knit portions complement the woven part beautifully. 

But like Sleeping Beauty, my machine slumbered for a number of years. When it awakened this spring, we have become seriously reacquainted. I've knit a few things, one of which is the Pinelands Spring cowl knit from my homespun that I shared here. 


Group learning

One knitter demonstrates how to make a pleat
There is nothing so enjoyable as sharing with like-minded people. As I was relearning my machine, I found the Rapid Rows Machine Knitting Guild of Central Jersey and planned to visit. When I did, I was blown away. 

My machine is too big and too heavy to take anywhere so I planned to just sit in on what they were doing. That plan lasted about two minutes.

One woman 'just happened to have' a (second) portable machine in the trunk of her car. Another had a (second) sawhorse adapted to hold a machine. Note, I said 'second.' Each of them had a machine set up and ready to knit. Oh, yes. Then two balls of yarn were in my hand!

That day we made little purses with pleats in the center front and back and a hem at the top for a drawstring. I made one, too. Mine is the brown one on the upper left. Now I'll have to make one at home--maybe with a sparkly yarn.

Monday, April 4, 2016

Spinning to knit

Pinelands Spring cowl
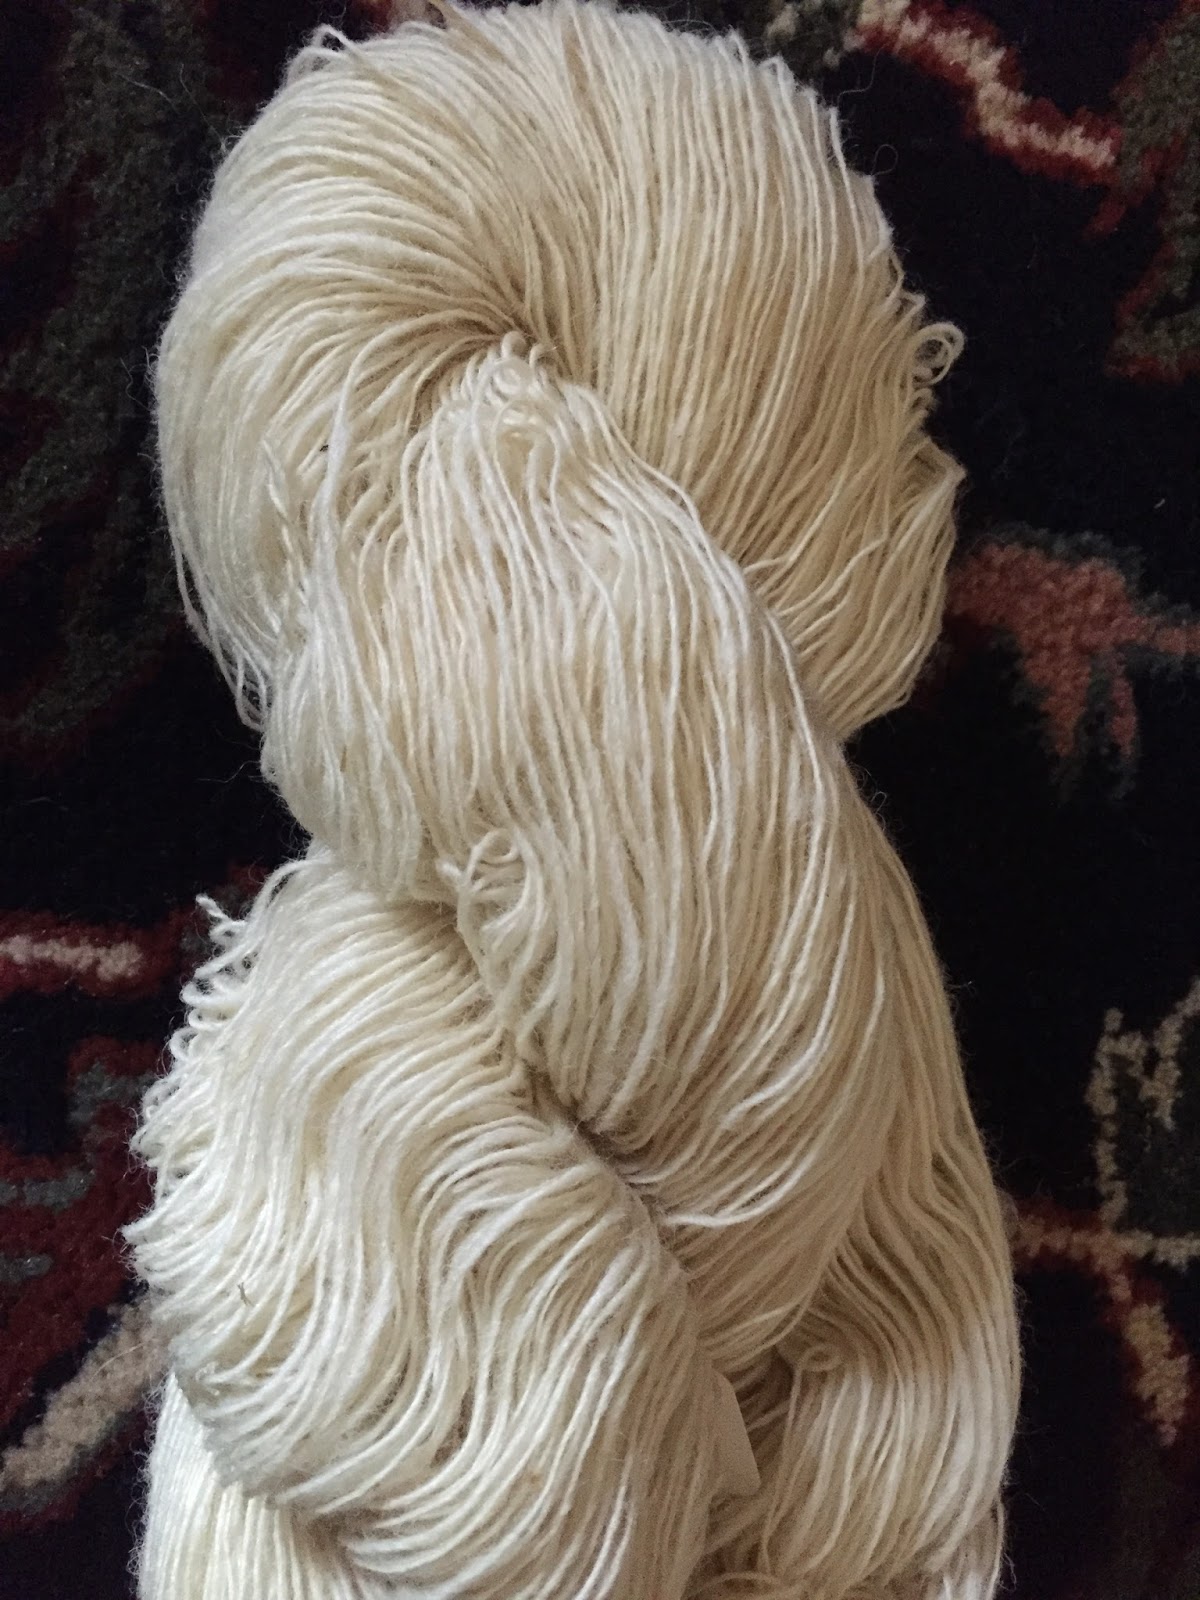
Yarn: single ply handspun Merino

I have a basket full of handspun. Now what?

Last year, I had bags of roving piled in my studio. This year, the bags had been transformed into yarn. I am pretty much happy with the yarn, but the more I spun, the more satisfied I became. 

Over the years, I have spent far too much time dwelling on my frustration in spinning larger gauge yarns. As I was sharing this with other spinners, the reality hit me: I prefer to work with finer gauge yarns. Why do I need to spin larger gauge yarn? I don't. 
Yarn being wound from the bobbin

So after freeing myself from 'should do's,' I have moved on to focus on spinning fine to medium yarns for consistency. Should I get bored, I can add any number of challenges by spinning wool from different breeds. 


Consider the breed

Winter's Past Farm raises Coopworth sheep and I can't say enough good things about spinning their fleece. At the top of the list is 'easy to spin.' I also like the color, which accepts dye easily. I had some Tunis and found spinning that about the same as the Coopworth. Then I moved on to the Dorset, a down wool, and Merino, a fine wool, both with shorter staple lengths.

Then Romney, which I was gifted at the local guild's Rock Day celebration. Easy to spin but for one major negative totally attributable to the shearer. It was riddled with second cuts--short lengths of wool from the shearer's second pass on the sheep. The short fibers form noils, which defeat smooth, even yarns and are the very devil to pick out when spinning. 
Counting as I wind on

This year's focus was on spinning singles suitable for knitting. That meant taming the twist as much as possible. With this goal, I've been spinning these with a short draw with my wheel ratio set as slow as possible. 

My first project through to completion was Pinelands Spring  cowl knit with Merino singles on a knitting machine. The pattern itself adds an exaggerated stitch in the rib variation, which in itself adds texture but doesn't draw attention to any inconsistencies in the yarn. (If you like the pattern, it's available as a free download on Ravelry.)


Spinning data

Skein of Romney singles
After my bobbins are full, I wind them off and, as I do, I count the yardage. This yarn winder has pegs at 72 inches, which means each round holds 2 yards. I count them into groups of 50, adding markers so that if I get interrupted, I can confirm the length. After removing it from the winder, I twist it into a skein and add a tag with breed and length. (I add weight and wii during the weigh-in.)


I keep a record of my yarn that includes:

  • Date finished
  • Weight of the skein
  • Length of the yarn in the skein
  • Wraps per inch (wii)
  • Technique: Long draw, short draw, etc.
  • Final product: Singles, plied, etc.

As you can see in the skein at right, there is still some twist. For the cowl, I soaked the skein of Merino singles and hung it to dry with some weight on the bottom of the skein. The cowl has no discernible twist--none that I can tell anyway.

Thursday, January 21, 2016

Getting grounded

Ideas, techniques and inspiration

Felted dragon and gnomes
by Jennifer & Melissa VanSant, Going Gnome
With four years now under our belts, attendance at Vogue Knitting Live New York has become a very special time for me to learn and be inspired by some of the best knitting instructors in the world. 

Although Kris and I could make the event a day trip, we splurge and stay one night. This allows us to have two days of classes. I oversubscribed myself....again....with a total of four classes and one lecture. Kris did the same. That meant we had four different instructors. Some were outstanding. More on the topic of teaching another time.


Lion Brand Yarn's
'Produce Stand'

Market madness

The public areas feature special exhibits such as the felted dragon and gnomes (right) and Lion Brand Yarn's produce stand (below). Although some were simply displays, most were devoted to business-minded fiber artists. Some, like Jennifer and Melissa VanSant of Going Gnome, and Ruth Marshall, who hand knits pelts of exotic endangered animals such as the clouded leopard (below), offer kits. 

The Marketplace grows year over year growing Vogue's revenue streams and offering shoppers a wider range of goods. There is an extensive variety of yarns, tools and supplies in ballrooms on two floors. This year added spaces in an area adjacent to one of the ballrooms. The market is definitely worth visiting, but it gets crowded....as in crushingly crowded. Next year I plan to leave at least one class time open time so that I can spend some time in a less crowded market. Maybe I'll even buy something.

Machine magic

Silver Reed knitting machine
Susan Guagliumi's machine knitting refresher class was my first choice among all choices. I had been shut out in past years and looked forward to a morning of immersion. The morning course was exactly what I wanted--and needed. I have a knitting machine--a fabulous Passap Duomatic 80 acquired many years ago. They are no longer manufactured although they're workhorses and plenty are still in use. I found one in the Virtual  Knitting Machine Museum that made me feel, well, old. 

I knit on the Passap machine a great deal during our years in London but slacked off after returning to the States for no other reason than that life intervened. Although not stored under my bed, it might as well have been. Thanks to Son #1 and Son #2, it is now accessible. (As my knitting machine is not transportable, I am particularly thankful to Stitcher's Dream, Lansdale, Pa. for providing Silver Reed knitting machines for the classes.)

I have long struggled to understand the low interest in knitting machines. Susan Guagliumi, whose knowledge of machines is both broad and deep, attributes the decline to the output of ugly garments knit in acrylic and mostly in Fair Isle. 

Knitting machines can be workhorses. Sure, they can knit garments--and knit them beautifully if executed properly, but they offer much more versatility than that. I find my machine a perfect companion for finishing hand wovens and it's the perfect tool for hand knit projects with brutally boring expanses of a single stitch type. 

Now that I'm home, I can't wait to get the machine working. Yes, I have a re-learning curve, but I'm motivated. Really motivated. And after hearing a lecture by Laura Bryant, I think I have the perfect project.


Finishing School

Finishing techniques were my other focus for the weekend. This is an ongoing interest as it  can make a difference between a garment that looks like it was 'made by loving hands at home' and a hand crafted knit. 

Sample for Finishing School

My class, "Finishing School," with Deborah Newton was excellent. Prep for the class was a large, square, blocked sample that had a cable in the middle with 4 inches of a small all over pattern on each side. (I used a small basketweave)  In class, we practiced her recommended seaming technique on about two inches of it. To get the full benefit of the class, I need to follow through on her directions to try out the other techniques. 

My biggest take-away is a new perspective on blocking, especially wet blocking. "Blocking isn't necessary," Newton  advises. "Maybe a light steam, if the fabric is appropriate." Also, she says she has no special tools and recommends none--a reassuring note in the midst of a market mania.

Taking instructors home with me

I was so impressed with three instructors that I came home and ordered their books. In addition to Deborah Newton's "Finishing School" and Susan Guagliumi's books on machine knitting, I ordered Laura Bryant's "Artful Color, Mindful Knits: The Definitive Guide to Working with Hand-dyed Yarn," after hearing her speak and seeing the jacket she was wearing. I expected a pattern book, but no! This book is a gold mine for anyone who hand dyes yarn for their craft. The knitting patterns are a bonus.