One way to avoid the 'homemade' tag
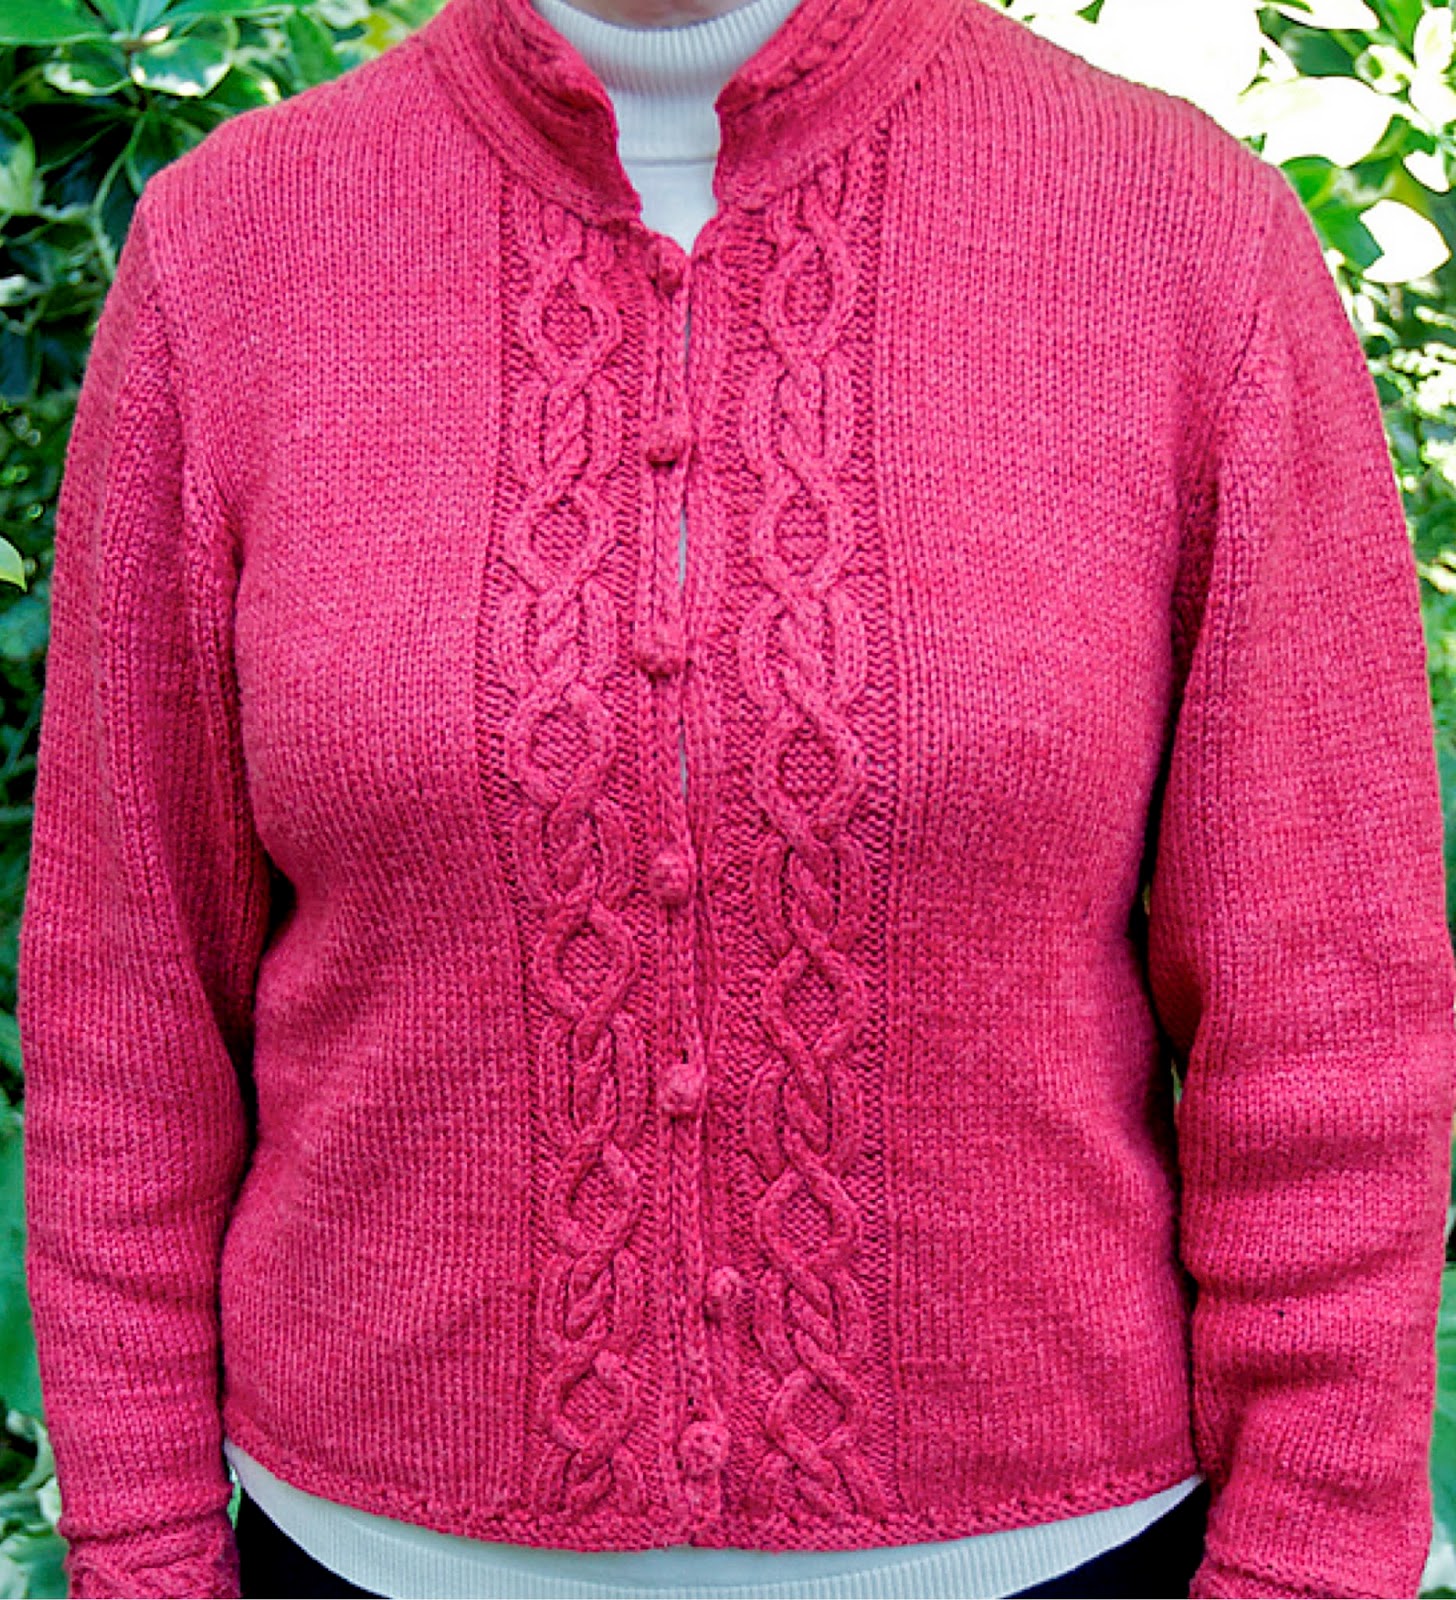 |
| Espresso sweater |
You haven't finished it until, well, you've finished it. Those thread ends must be woven in, the pieces seamed together and the edges finished--all the things that take it from the needles or the loom to a usable item.
Shortcut the finishing processes at your own peril. No serious handcrafter wants to produce an item that screams 'homemade.' Although 'homemade' works
well with jam and pies, it's a killer on handcrafted fiber items. Synonymous with second-rate and poor skills, it degrades the work.
The importance of
attention to detail in finishing simply can't be emphasized enough. It is often
the difference between 'homemade' and 'custom made.'
I recently received a high compliment from a knitting maestro who admired the sweater I was wearing and remarked, 'You could make that.' It was particularly sweet to reply, 'I did.'
Although every single
decision--color, creativity, technique, etc.--a skilled fiber artist makes in
producing an item contributes to the final product, finishing details are frequently the thing that separates a 'homemade' look from the far more desirable 'custom,' 'designer,'
or 'one-of-a-kind.'
Several years ago, I knit a sweater from Lisa Lloyd's Espresso sweater pattern. I rarely follow a pattern exactly, so it's no surprise that as
I compare the original with mine as posted on ravelry, there are visible departures from her well-designed pattern. My changes were largely restricted to the edgings and finishing.
Since posting the photo, the buttons have garnered the most comments. The very simple directions for making the buttons are in the note section of on my ravelry project page, but I'm posting them here, as well, along with some
additional thoughts on buttons.
Buttons: A closure or the focal point?
 |
| Dorset button |
Probably the most commonly known handmade button is the Dorset button, which is worked over a plastic or metal ring. I rarely use this style as it's a rather large button when worked over most available rings. Sure, smaller rings are an option, but I find them tedious and unless using very fine yarn, the resulting button can look unprofessional.
 |
| Espresso sweater, buttons |
The Espresso sweater
buttons, shown at left, do not have a button base. They are roundish, soft
and pliable. I first made the buttons over a button base, but didn't like
the look, so I removed the button to achieve a softer look. Directions for both versions are below.
(You may also note that the finished edges on this sweater differ from the original pattern. The sleeve edges are finished
in one row of single crochet and the front edges with multiple
rows of Bosnian crochet, incorporating loops
to accommodate the crocheted buttons on the right front.)
Ready to make your own buttons? Here's my very simple approach:
Directions for round crocheted buttons
[To make a button with a solid button base, you will need 3/8 inch shanked buttons, domed with a flat base]
Using a small crochet hook, appropriate for the yarn you are working with:
- Make an overhand circle without a knot
- Make 5 *SC in circle, ensuring that overhand is secure. Pull up to tighten.
- Make 2 SC in the back of each of the 5 sts in prior row
- Make 1 SC in the back of each of the 10 sts in prior row
- Pick up 2 sts from back (1st from front, 2nd from back; crossed sts) and slip stitch to securely close.
*SC, single crochet
No comments:
Post a Comment